Wednesday, April 30, 2014

End of Month View - April 2014

I've decided to join the garden blogging community in posting my first "End of the Month" view of garden. This will allow me to see the progress I'm making in different parts of the garden over time.

Veggie Beds


The spring veggie beds are starting out strong, despite the several late freezes that we've had here in central Texas.  In Bed 1 (furthest left), I have 6 tomato plants, 9 pepper plants, and 3 eggplants.  In Bed 2 I have a variety of summer and winter squash (acorn, butternut, yellow summer, zucchini, pumpkin and gourds).  I also planted radishes between the mounds.  I've harvest all but a few of the radishes, and had to give away about half of my harvest because I just couldn't eat all of them!  In Bed 3 I have sweet peas growing.  I just harvested the last of my fall/winter crop of kale and planted okra, cucumbers, watermelon and cantaloupe in the open spaces in the bed.  Finally in Bed 4, which receives mostly shade during the day has swiss chard, spinach, kale, collards and bush beans.  The swiss chard is still producing from the fall/winter crop.  The rest of the plants are from spring planting.


Bed #2 with squash and a few radishes and Bed #3 with sweet peas and marigolds.

Backyard Beds


The bulb bed doesn't have much but the calla lilies blooming right now.  I have many gladiolas that are getting ready for their summer showing, as well as some daylilies, a few Black-Eyed Susans, and a couple of dahlias.  I only seem to have two dahlias that came up this year, so I think it may be time to plant a few more varieties.


The butterfly garden is full of some purple zinnias that were grown from seeds, a scattering of butterfly wildflowers that have not yet bloomed, some milkweed, coneflower, mistflower, and a couple sunflowers from fallen birdseed.  The rosebush is also maxed out in blooms.

Courtyard


My large wisteria that has not yet bloomed in 2 years.  I probably need to do more pruning and alter the soil so it isn't too heavy on the nitrogen.  I've also read that it can take several years for the plant to bloom. I must be patient.


Front Yard

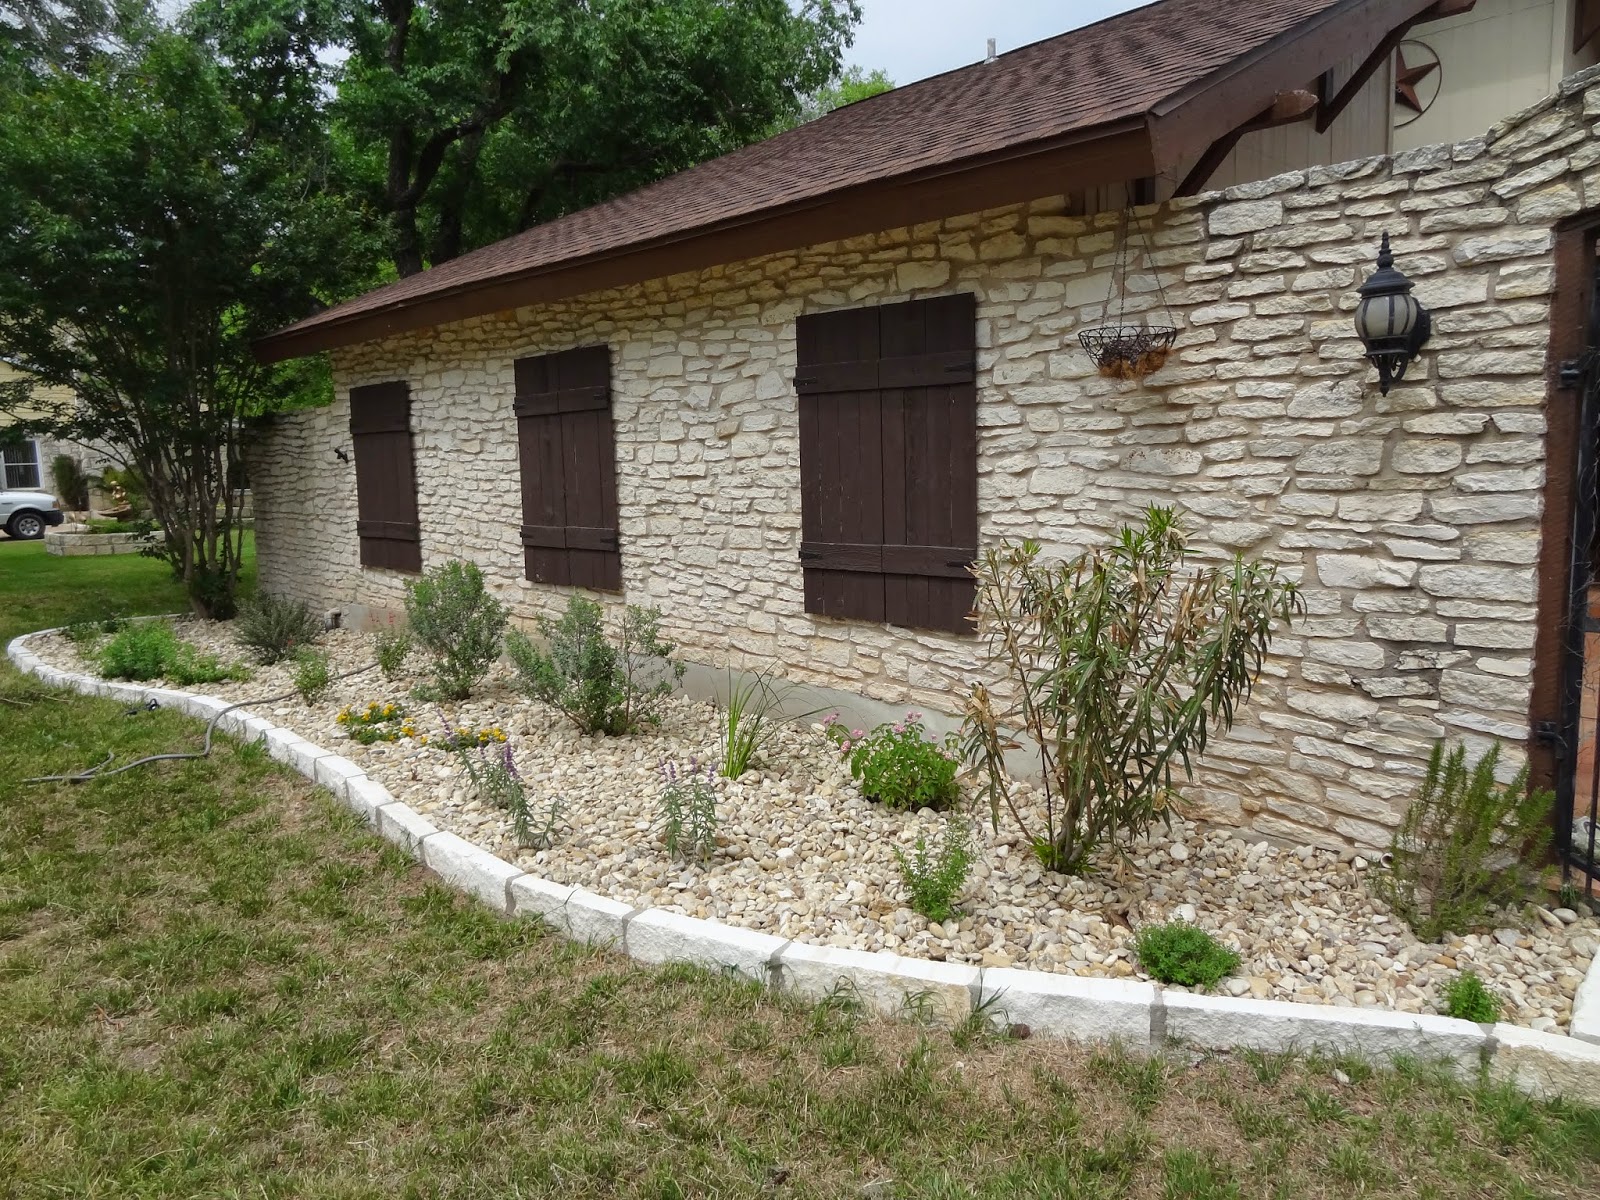
While I've already posted these pictures in my Front Yard Landscaping post, I decided to add them again here to keep track of how much this part of the garden will change as the months grow by.


Thanks to Helen at The Patient Gardener for hosting the End of Month View.  Stop on by her blog to see other gardeners' end of the month garden views.


Saturday, April 26, 2014

Front Yard Landscaping

Pathetic.  That's what our front yard looked like for about the last couple of years.  It wasn't due to a lack of trying.  Believe me, we certainly tried...twice.  There wasn't much landscaping in the front yard to begin with when we moved in almost three years ago.  There were two beds right in front of the house with some puny shrubs.  Our first spring in the house, I added a bunch of plants to the front beds, along with a section of plants and bulbs under a tree, and plenty of mulch.  While the beds started off decent looking, it was hideous by the end of the summer.  The dreaded Bermuda Grass had taken over everything, choking out the shrubs and flowers and leaving a nasty overgrown-weed look.

Last spring, we tried to remedy the situation by pulling ALL the mulch out, laying down high-grade weed-block and putting new mulch over the top.  It looked nice for a few months, then the nightmare returned... Bermuda grass EVERYWHERE.  Let it be known, Bermuda grass easily grows in/on top of/through mulch, so while our efforts did help kill the Bermuda grass that was under the weed-block, Bermuda grass outside the bed easily crept in and spread like wildfire throughout the mulch.

We realized it was time to call in the professionals.  Jon's co-worker, Mark, does landscaping part-time, so he was able to help us re-do our front yard landscaping so that it will last.

BEFORE


AFTER


Such a big difference!  Mark took out all the old mulch and weed-block, cut out all the Bermuda grass, removed the metal barrier on the front left side of the house and replaced it with limestone, had a guy come out and mortar the limestone beds, added soil, put down new weed-block, added drought-tolerant and deer-resistant plants, and added river stone as the new and improved "mulch."  I'm really happy with the look.  I just can't wait for the plants to grow and fill out the space.  I will probably end up adding more plants to fill out the space more.  But, in general, I'm so happy with it that it makes me want to add additional beds to the front yard and continue removing the nasty Bermuda grass.  One step at a time.

Plants in the front yard landscaping now include:
-Autumn Sage (salvia greggii)
-Black and Blue Salvia (salvia guaranitica)
-Texas Sage (leucophyllum frutescens)
-Mexican Bush (salvia leucatha)
-Lantana (lantana camaras)
-Bicolor Iris (dietes bicolor)
-Oleanders (nerium oleander)
-Rosemary (Rosmarinus officinalis)
-Spineless Prickly Pear (opuntia ellisiana)
-Gaura (gaura lindheimeri)
-Red Yucca (Hesperaloe parviflora)
-Rock Rose (Cistaceae)
-Vitex (vitex agnus-castus)
-Cotoneaster (cotoneaster glaucophyllus)

Sunday, April 20, 2014

Bird Watch - April 2014

This spring has brought some new visitors to my (and my neighbor's) garden.

The main visitors of note are the purple martins.  This spring is the first time I've seen these well-respected feathered friends.  Maybe it has something to do with having a bit rainier winter?  Purple martins almost entirely nest in man-made bird houses.  I unfortunately do not yet own a purple martin house, but my next door neighbors do, so I've been able to enjoy purple martin sightings.  I'm hopeful that they are eating a bunch of pesty insects right now, especially the squash vine borer moths.


I also recently bought a Droll Yankee Nyjer seed feeder, as I wanted to attract more finches to the yard.  The day after I put up the feeder, I immediately had goldfinches visiting.  Needless to say, I'm pretty happy with the feeder results.


While not a new visitor this month, one of my favorite birds in the garden are the blue jays.  Yes, they have a tendency to bully other birds, but aren't they just spectacular?  So regal.


While not a bird, another critter in the garden right now is this little guy.  I see him hanging around pretty often.


Other birds in the garden this month include many house sparrows, white-winged doves, blackbirds, one male and one female cardinal, a few Carolina wrens, and a male and female black-chinned hummingbird.

Garden Bloggers' Bloom Day - April 2014

This is my first contribution to the Garden Bloggers' Bloom Day, hosted by Carol at May Dreams Gardens.  I know I'm a few days late, but there is a bit blooming in my Round Rock, Texas zone 8a garden, so I didn't want to miss posting this month.

This biggest show stopper in the garden right now is my climbing rose.  The rose came with the house when we moved in over two years ago, so I'm not sure what variety it is, but it certainly is a beauty!


In the Bulb Bed...
...the calla lilies are in full bloom.


In the Veggie Beds... 
...marigolds and Magellan Coral zinnias


In the Butterfly Garden...
...Gregg's Mistflower


Euryops 'Sonnenschein'


Mexican Milkweed


Paprika Yarrow


In the Courtyard...
...New Guinea Impatients


Begonias


Sunday, April 13, 2014

Today's Harvest

Today was 78 degrees and overcast in Central Texas - perfect gardening weather.  While playing in the garden, I decided it was time to harvest some of my continuing fall and early spring crops.  Today's harvest included a bunch of Curly-Leafed Kale (planted in the fall), Fordhook Giant Swiss Chard (planted in the fall), and Cherry Bell Radishes (planted 3 weeks ago).


I didn't have anyone to cook for this evening, so I decided to use my harvest in some fresh juices.  I made two types of juices, and enough to last the next couple of days (about 60 ounces of each kind of juice).  My juices included:

Green Pineapple

  • 1 pineapple
  • 6 cups kale
  • 1/2 head romaine lettuce
  • 1 cucumber
  • 8 stalks celery
  • 3" ginger root
  • 1 large Granny Smith apple
  • 1 large lemon
  • 1 lime

Green Radish

  • 10 radishes with greens
  • 10 stalks swiss chard
  • 3 stalks celery
  • 2" ginger root
  • 5 medium apples (Granny Smith and Gala)
  • 1 lemon
  • 1 lime
  • bunch of cilantro
  • 1 1/2 cups water
I've never juiced radishes before, but the concoction I put together was pretty good.  It has a mild, yet refreshing bite to it, similar to ginger root.  I'll have to add this to my standard juicing recipes.


Dutch Iris and Daffodils

Last spring I planted a bag of blue and white dutch irises.  No plants or flowers came up last year, so I thought the bag was a bust.  This spring, however, about half of the bulbs came up and ONE of them actually bloomed.  It was one of the white variety.  Hopefully more will bloom next year!


Right now we are having the garden beds at the front of the house redone, which involves tearing up all grass and weeds that have infested the beds.  One of the beds that is being redone had a bunch of bulbs that I planted over a year ago.  The bulbs included an assortment of daffodils and hyacinths, which I had planted out front since they were suppose to be deer resistant.  That was not the case.  The deer have munched these plants down two springs in a row.  So, since I had to move the bulbs anyways due to the landscaping being done in the front yard, I decided to move the daffodils and hyacinths to the backyard where they will be safe from the snacking deer.  I planted them around my Florida Prince peach tree.  I'm looking forward to some blooms next spring!


Saturday, April 12, 2014

Composting

Every gardener should have a compost pile.  Gardens are always producing materials that go into the compost, and thrive on the nutrients from the decayed compost, so it is a win-win.  It is especially a must for organic gardens - creating nutritious fertilizers for those veggie beds in a safe and in a sustainable way.  Not to mention, putting your food scraps and paper product waste into your compost pile can reduce your waste to landfills by up to 30%!

I officially started composting last summer when I bought a Lifetime Dual Compost Tumbler at Costco, for about $150.  After a year, I can safely say I'm very happy with my compost bin choice.  The dual tumbler is very sturdy, so I know I'll have it for many garden seasons to come.  Having the two 50-gallon tumblers allows me to add compost materials to one of the tumblers, while the other tumbler sits and goes through the decay process.  The size of the tumblers is large enough to fit my composting needs without being too large to make it difficult to turn the tumblers.


Materials
Composts need a balance of carbon-rich or "brown" materials and nitrogen-rich or "green" materials.  Ideally, this balance should be about 2/3 carbon "brown" materials and 1/3 nitrogen "green" materials.  These materials can include:

Green (Nitrogen)
  • Fruit and vegetable food scraps (usually raw, or at least with no oils if cooked)
  • Pulp from juicing
  • Coffee and tea grounds and filters
  • Grass clippings (only if they have not gone to seed, and not at all if it is an invasive grass like Bermuda grass)
  • Garden waste, cuttings (you can help decomposition by cutting down larger scraps into smaller pieces)
  • Flowers
  • Chicken manure (do not use dog or cat excrement)
My compost loves my juicing pulp.


Brown (Carbon)
  • Shredded newspaper
  • Shredded junk mail (no glossy or colored paper)
  • Paper bags (torn up)
  • Cardboard (including cardboard egg cartons, paper towel roles - shred)
  • Used napkins, paper towels
  • Dry leaves
  • Dryer lint
  • Straw or hay
  • Wood ash (only use from clean materials and use sparingly)
  • Woodchips and sawdust


Neutral
  • Eggshells
It is handy to have a food scrap collector in the kitchen so that you can collect the fruit and vegetable scraps and used paper towels and napkins over a few days before needing to run out to dump the scraps in the composter.  I use a stainless steel kitchen compost container similar to this one.  But using an old plastic ice cream container works as well.


Aeration
Once materials have been added to the compost, they need to be aerated on a periodic basis to help the decomposition process.  My Lifetime Dual Compost Tumblers makes this job very easy.  Whenever I put materials in my composter (about 1-2 times a week), I turn the tumbler about 3-5 times to stir up all the contents in the tumbler.  If you do not have a tumbler, turn your compost pile with a pitchfork every few weeks.

Water
Some moisture is needed to keep the decomposition process going, so make sure the compost pile stays moist.  If it starts looking a little dry, add some water until it is slightly damp.  I rarely need to do this, as my green products that are added seem to have enough moisture.

Time
The time it will take for your compost to be broken down will depend on many factors, including what materials are being added, the moisture, temperature, and aeration.  With my two 50-gallon tumblers, and in a two-person household with a small/medium sized garden, my schedule has been to add materials to one compost tumbler for about 4 months, then let it sit for another 2 months (while I'm adding materials to the second bin) before it is ready for the garden.

This mess becomes...


BLACK GOLD (well, at least the gardener kind of black gold)


This spring was the first time I was able to use my own compost in my garden, and I can already tell it is helping my plants to grow big and strong.  I also learned that my dogs are also addicted to the pungent scent of the decomposing materials and like to dig in places where I use this, so I have to be very careful where I use the compost, or at least make sure there is a fence around the plants!