Showing posts with label amaryllis. Show all posts

Saturday, February 14, 2015

Happy Valentine's Day

Happy Valentine's Day!  I hope your day is filled with LOVE.


Pictured here is my Minerva amaryllis bulb.  She stopped flowering at the end of earlier this month, but I had to show her off all the same.

I had purchased the amaryllis bulb from a big box store last fall and completely forgot about it sitting in a constrained plastic bag until it was nearly too late.

I put her in a pot anyways in mid-December and gave her some LOVE (ok, maybe it was more the sunlight and water that did the trick...but the LOVE didn't hurt).  And this is what the poor thing looked like after a week or two in the pot...pathetic.


I thought for sure that was all I was going to get and that I'd just have to wait for next year to try Minerva again.  But to my surprise, after the first flower stalk died, she shot up another stalk (straight up this time), Not only that, but the new stalk bloomed TWICE.  The first set of flowers lasted about two weeks, and then the second set of flowers lasted about two weeks, giving me almost a full month to enjoy her beautiful blooms.

That settles it, Minerva is my new favorite amaryllis.  Don't get me wrong, Red Lion was definitely a showstopper for Christmas, but the blooms only last a week or so.  I really LOVE how Minerva keeps going...and going...and going.  You really get the biggest bang for your buck.
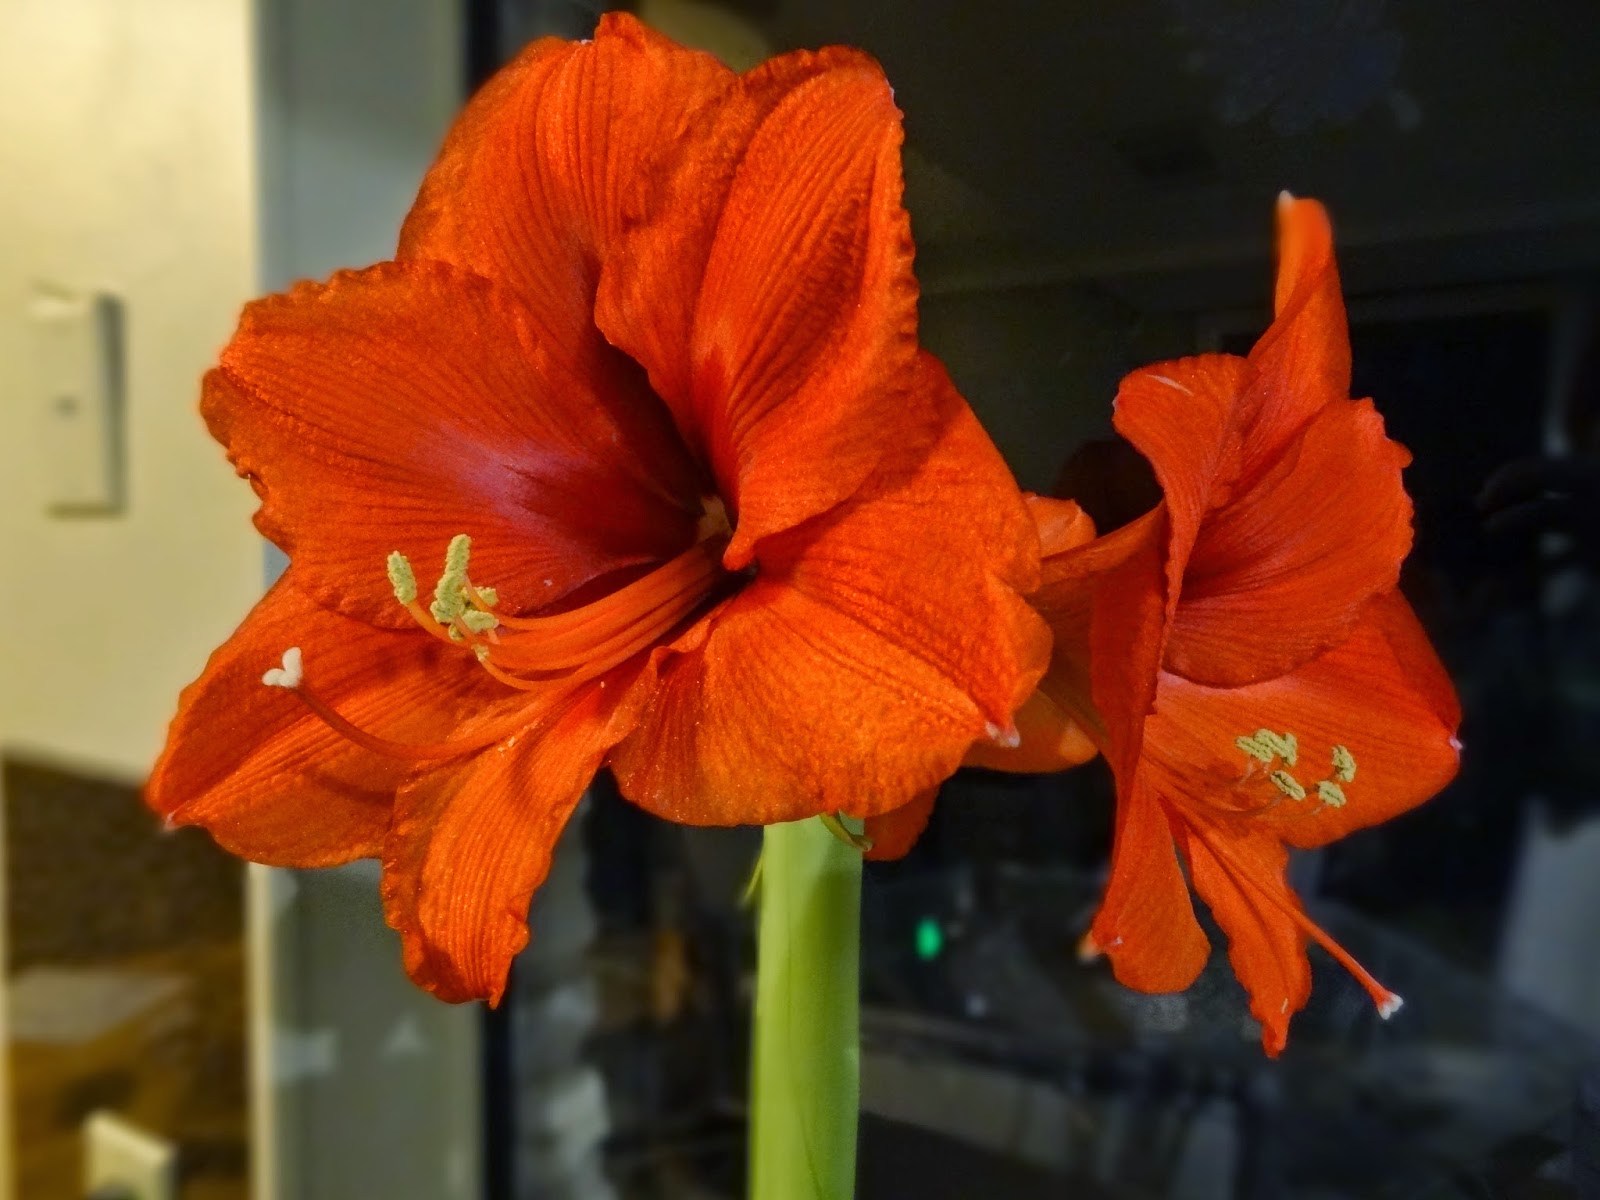

Now the question is, do I plant my Minerva and Red Lion bulbs from this year out in the garden beds, or store them away and force them inside again next winter?  Knowing me... I'll place them in the garden AND buy more bulbs next year to force indoors.  I do LOVE my amaryllises!

Saturday, December 20, 2014

Holiday Amaryllis & Paperwhites

It has become a tradition of mine to force amaryllis and paperwhite bulbs each fall for beautiful indoor blooms for the holidays.


How to force amaryllis bulbs indoors:
  1. Mix a little bit of water in with potting soil so the soil is slightly damp but not wet to the touch
  2. Place the amaryllis bulb in the dampened soil, making sure the neck of the bulb (top 1-2 inches of round part of the bulb) is above the soil line
  3. Place near a window that receives indirect sunlight and stays around 65 degrees
  4. Wait 3-4 weeks for blooms, watering only lightly when the soil becomes completely dry.


How to force paperwhites:
  1. Place bulbs in containers atop stones, gravel, or glass marbles or pebbles.  I like placing mine in a tall, clear wide vase because it is interesting to see the root systems develop through the planting medium and is also easy to tell how much water is in the container.
  2. Anchor bulbs in place by placing another ½ inch to inch of stones on top of the bulbs so they don’t move
  3. Fill container with water, but only up to the very bottom of the bulb.  If the bulb sits in too much water, it will rot.
  4. Wait 4-6 weeks for blooms, watering enough to keep the root systems in the water.
  5. Stake the paperwhites when they become too tall and start topping over.  I like to use a ribbon to tie all the leaves together – it gives the plant a nice festive holiday look.

This year, I planted one Red Lion amaryllis and about ten paperwhites in early November.  The Red Lion amaryllis bloomed quickly and I was able to appreciate its deep red blooms during Thanksgiving. 


The paperwhites took a little longer to blossom, waiting until the second week of December to put on their show.  However, they keep their blooms much longer than the amaryllis, about 2-3 weeks compared to about a week for the amaryllis.  The paperwhites also have a strong fragrance, white the amaryllis has almost none.


In early December I planted another amaryllis bulb, Minerva, that I had forgotten about that had started to grow cock-eyed in the plastic big box bag it had come in. I thought the stem may correct itself after getting in a proper pot and better sunlight, but it never did rebound fully and the blooms only half-blossomed.  I’m hopeful that the bulb is still storing up enough energy so that I can try again to get beautiful blooms next year.


I plan to plant my bulbs out in my garden after they are finished blooming indoors.  To plant amaryllis and paperwhites outdoors (instructions from easytogrowbulbs.com):
  1. Find a location where the soil drains well. If there are still water puddles 5-6 hours after a hard rain, scout out another site. Or amend the soil with the addition of organic material to raise the level 2-3" to improve the drainage. Peat moss, compost, ground bark or decomposed manure all work well and are widely available. Amaryllis must not sit in soggy soil or the bulbs will rot.
  2. Site your amaryllis where they will receive full sun. Amaryllis will grow in light shade but tend to develop stronger stems and better proportions in brighter light.
  3. Dig holes and plant the bulbs with an inch of the bulb above the soil surface. This is sometimes referred to as planting "up to the shoulders" of the bulb.  The top of the bulb is the part that looks a little like the stem area of an onion and the bottom has a flat plate, often with a few roots attached.
  4. After planting, water well, gently soaking the soil and settling it around the bulb. Then ease off on the water; your bulb doesn't need moisture when there isn't yet growth to support. Amaryllis may be planted from September through April in warm weather climates. While occasionally flower stalks will develop in the fall, easpecially during the first season, mid spring is the typical time for flowering.
  5. When in bloom, feel free to cut amaryllis flowers for fabulous bouquets. Amaryllis aren't used widely in the U.S. for cuts but they are very popular in Europe. Pretend you're in Paris!
  6. After blooming has finished for the season snip off the old flower stalks but leave the foliage in place; don't cut it off. The leaves will gather sunlight, create food through photosynthesis and strengthen the bulb for the future. Water as needed during active growth periods, about 1/2-1" of moisture per week is a good estimate. In warm regions amaryllis foliage is evergreen and continues to look good year round.
  7. In zone 8, mulch your plants in late fall with a 3" layer of leaves or pine needles to reduce the chances of the bulbs being subjected to ongoing freeze and thaw cycles as these are hard on amaryllis. Remove the mulch in the spring to prevent moisture from being held against the top of the bulbs.


Sunday, December 8, 2013

Merry Amaryllis

I planted a red amaryllis indoors in early November in hopes for some beautiful indoor blooms in December.  I was not disappointed.  The amaryllis blossomed in late November, so we were able to enjoy the blossoms for Thanksgiving and into the first week of December.  What a beauty.

Starting to blossom in mid-November

 Full blooms in December