Monday, June 30, 2014

End of Month View: June 2014

I can't believe tomorrow will be JULY already.  It seems like we just flew through June!  But alas, the end of the month is here, and with it, the End of the Month View, hosted by Helen at the Patient Gardener.  The end of the month is bittersweet.  It is sad to think how quickly time passed, but exciting to look at how much the garden has grown in the last 30 days.  Let's take a look.

Veggie Beds


The veggie beds are doing quite well.  Every couple of days I harvest several pounds of fresh vegetables that make for some delicious recipes.  The decent rainfall this summer has made my summer veggie bed the best it has ever been in the past three years that I've been working on it.  I've been most impressed with the tomatoes, which currently are topping out close to eight feet tall!  Thankfully I have my sturdy tomato cages to help keep them propped up.  I've harvested the bulk of the early summer tomatoes.  Since I've never had tomato plants last this far into the season, I'm kind of at a loss for how much they will continue to produce the rest of the summer and into early fall.  I figure I will keep them going as long as the plants look green and healthy.


While the squash was a flop, AGAIN, after the squash vine borer infestation, I'm having another success in my cucumber patch.  I used some extra concrete rebar from my tomato cage project for my trellises - which the cukes are loving.  I think the extra rain this year has really done wonders for this plant.


Baby cucumbers and pretty okra flowers fill Veggie Bed #3 (above).  Veggie Bed #4 (closest bed below) could use a little TLC.  The green beans in the bed continue to produce well... I think green beans will be a staple in my veggie beds from now on.  They have been very low maintenance and decent producers.  The rest of the bed is looking a bit sad.  I tried some spring planted chard, spinach and collards, but none have taken off this season.  I'll turn a good portion of this bed soon for a few summer seed plantings.


Backyard Beds

The butterfly garden is being overrun with lantana and giant zinnias.  The butterflies and hummingbirds seem to love it, so I do too.


One of the sunflowers planted by the birds finally blossomed, adding an extra cheery flare to this part of the garden.  I didn't get around to planting sunflowers in my beds this year, so I'm glad the birds had my back.


Yet another garden bed that needs some TLC (a.k.a. weeding).  The wildflower mix planted in this bed is doing well, despite my dogs continually trampling over them in attempt to catch vermin.  At least they actually do catch some every once-in-awhile.  I could really use a barn cat, or maybe an owl or two to keep the rodent population down in my little ecosystem.  But, I guess my poodles will have to do for now.

In the bulb bed, you'll see the continuing theme...some weeding is a bit overdue.  The Black-Eyed Susans are still going strong, while the gladiolas and one dahlia are nearing the end of their bloom season. 


Front Yard

The plants in the front of the house, in the most recent landscaping project, are filling out well in the summer heat.  My favorite are the prickly pears and black and blue salvias.  I have a couple sparse spots in the bed closest to the street.  What do you, reader, suggest I plant that is drought/heat tolerant, deer "resistant" and would have some fall or winter blooms to add some color a season or two from now?


Thanks for stopping by for my end of the month view!

Sunday, June 29, 2014

Today's Harvest: First Cucumbers and Okra

The summer veggies keep rolling in.  A couple days ago I harvested my first cucumbers EVER and yesterday and today I harvested the first okra of the season.  I keep planting okra because it is so easy to grow, loves the heat, can take drought, and produces like crazy.  The only problem is, I haven't found an okra recipe yet that I really love.  I don't eat much fried food, but I hear that might be the way to go with okra.  Do you have any okra recipes you love?  If so, I'm all ears!

6/22 Harvest

6/28 Harvest

6/29 Harvest

Harvest Totals (since April)
  • 5 lbs Cherry Bell Radishes
  • 3 lbs Giant Fordhook Swiss Chard
  • 3 lb 5.5 oz Pic-N-Pic Summer Squash (5 squash)
  • 5 lbs 6.3 oz Black Beauty Zucchini (3 squash)
  • 13.7 oz Mammoth Melting Sugar Peas
  • 9.4 oz Mucho Nacho Jumbo Jalapeno (11)
  • 9.7 oz Jalapeno
  • 1 lb 10.6 oz Bush Blue Lake 274 Green Beans
  • 1 lb 0.1 oz Gypsy Sweet Peppers (6)
  • 1 lb 11.8 oz Sweet 100 Cherry Tomato
  • 2 lb 7.5 oz Juliet Roma Grape Tomato
  • 3 lb 12.0 oz Early Girl Tomato (12)
  • 1 lb 10.4 oz Big Boy Tomato (3)
  • 1 lb 7.3 oz oz Bradley Heirloom Tomato (4)
  • 2 lb 2.3 oz Roma Tomato (22)
  • 2 lb 1.4 oz Long Eggplant (7)
  • 3 lb 10.8 oz Black Beauty Eggplant (3)
  • 6.6 oz Pablano Pepper (3)
  • 1 lb 2.0 oz Acorn Squash (1)
  • 1 lb 1.0 oz Butternut Squash (1)
  • 1 lb 6.6 oz Spaghetti Squash (1)
  • 13.6 oz Green Bell Sweet Pepper (4)
  • 1.1 oz Cayenne Pepper (3)
  • 3 lb 0.7 oz Marketmore 76 Cucumbers (4)
  • 7.5 oz Okra (9)

How to Plant Ginger

The ginger that I bought from the grocery store started sprouting recently, so I thought, what a great time to try to plant my own ginger!  I've heard it is a very easy herb to grow, so wanted to give it a try myself.


I first started by cutting the rhizome into smaller pieces, making sure that each piece had at least one eye bud.


Since I live in a climate that experiences freezes, and since ginger is a tropical plant that can't handle freezing, I decided to plant my ginger in a container, so that I can bring it indoors in the winter.  I selected a plastic container, since it makes for easier transport while lugging it in and outside. I also opted for a pot that has a removable bottom, so that there is easier drainage when it is outsides, but then I can put the bottom back on when I bring it indoors.

While I did not start with an organic ginger root, I want the ginger I grow to be as organic as possible, so I bought some local organic potting mix for my ginger - Lady Bug Vortex Potting Soil.  I also added in some compost from my bins to give it a little extra nutrients.


Next, I planted my ginger roots, spacing them evenly in the pot, with the eye buds facing up. Then I covered them with 1-2 inches of potting mix and gave them a good watering.


Ginger root likes partial shade and to stay moist, so I selected a place on my patio that will get filtered sunlight.  I'll need to make sure to keep this plant more watered than most of my other drought-tolerant plants.  It will also need to come indoors before a freeze.

Ginger is a slow-growing herb, so I will need to wait at least 4 months to do any harvesting.  The longer I wait, the bigger my harvest will be, so if I can wait closer to a year, I will get an even better harvest.  The best time to harvest is in the fall, when the leaves start dying back.  I will probably do a small harvest this fall, but leave a lot of the roots in the pot and bring it indoors over winter.

I always love trying out new plants - I'll let you know how this one goes for me.  Have you ever planted ginger?

Saturday, June 28, 2014

Visit from the Eastern Black Swallowtail Caterpillars

While perusing the herb garden today, I found that the parsley had been completely chomped down by some caterpillars.  On closer inspection, I saw that the caterpillars were still there, munching away.


Looking a little more closely at the little guys, and doing some quick Google searching, I found out that they are most likely Eastern Black Swallowtail caterpillars.  Some gardeners might be upset that their parsley crop was destroyed.  But since I really don't use much parsley in my cooking, and I love butterflies, I couldn't be happier with my garden visitors.


I couldn't believe how many caterpillars were in the little container.  I counted a total of eight!  How many can you count in this picture (some of the additional ones I counted are hiding under some leaves).


This makes me want to plant even more parsley next year so that these little guys have even more to munch on!  I can't wait to see the caterpillars turn into beautiful butterflies later this year.


Sunday, June 22, 2014

Squash Planting - Round 2

Due to the terrible squash vine borer that wiped out all of my lovely squash plants, I've decided to give it another go and plant a second round of squash plants.  I'm hoping it is late enough in the season now that the borer won't be an issue this time around.  I guess we'll just have to wait and see.

I cleaned up the bed of all the dead squash vines and weeds and planted the following seeds:

  • 2 Early Acorn Hybrid
  • 1 Pic-N-Pic Summer Squash
  • 2 Black Beauty Zucchinis
  • 1 Spaghetti Squash
  • 1 Waltham Butternut
  • 1 Jack O'Lantern Pumpkin
  • 1 Large Bottle Gourd
  • 1 mystery squash (there was a healthy, but small squash plant already growing in the bed that I decided to leave.  I'm not sure what it is, but based on my first planting locations, I would guess a pumpkin or bottle gourd)

Here's to hoping that second squash planting is much more successful (aka no squash vine borers).

On the bright side, I have a healthy-looking mystery squash growing in the yard.  I'm guessing it is a pumpkin, considering I left a pumpkin in that general spot last fall.  At first, I thought the mystery squash escaped the deathly squash vine borers, but on second look, the largest vine had been compromised and there was the obvious squash vine borer "saw dust" on the base of the plant.  I'm hoping the vine has rooted in some other places and will be able to survive, but I won't hold my breath.


Today's Harvest & Recipes for Abundant Summer Veggies

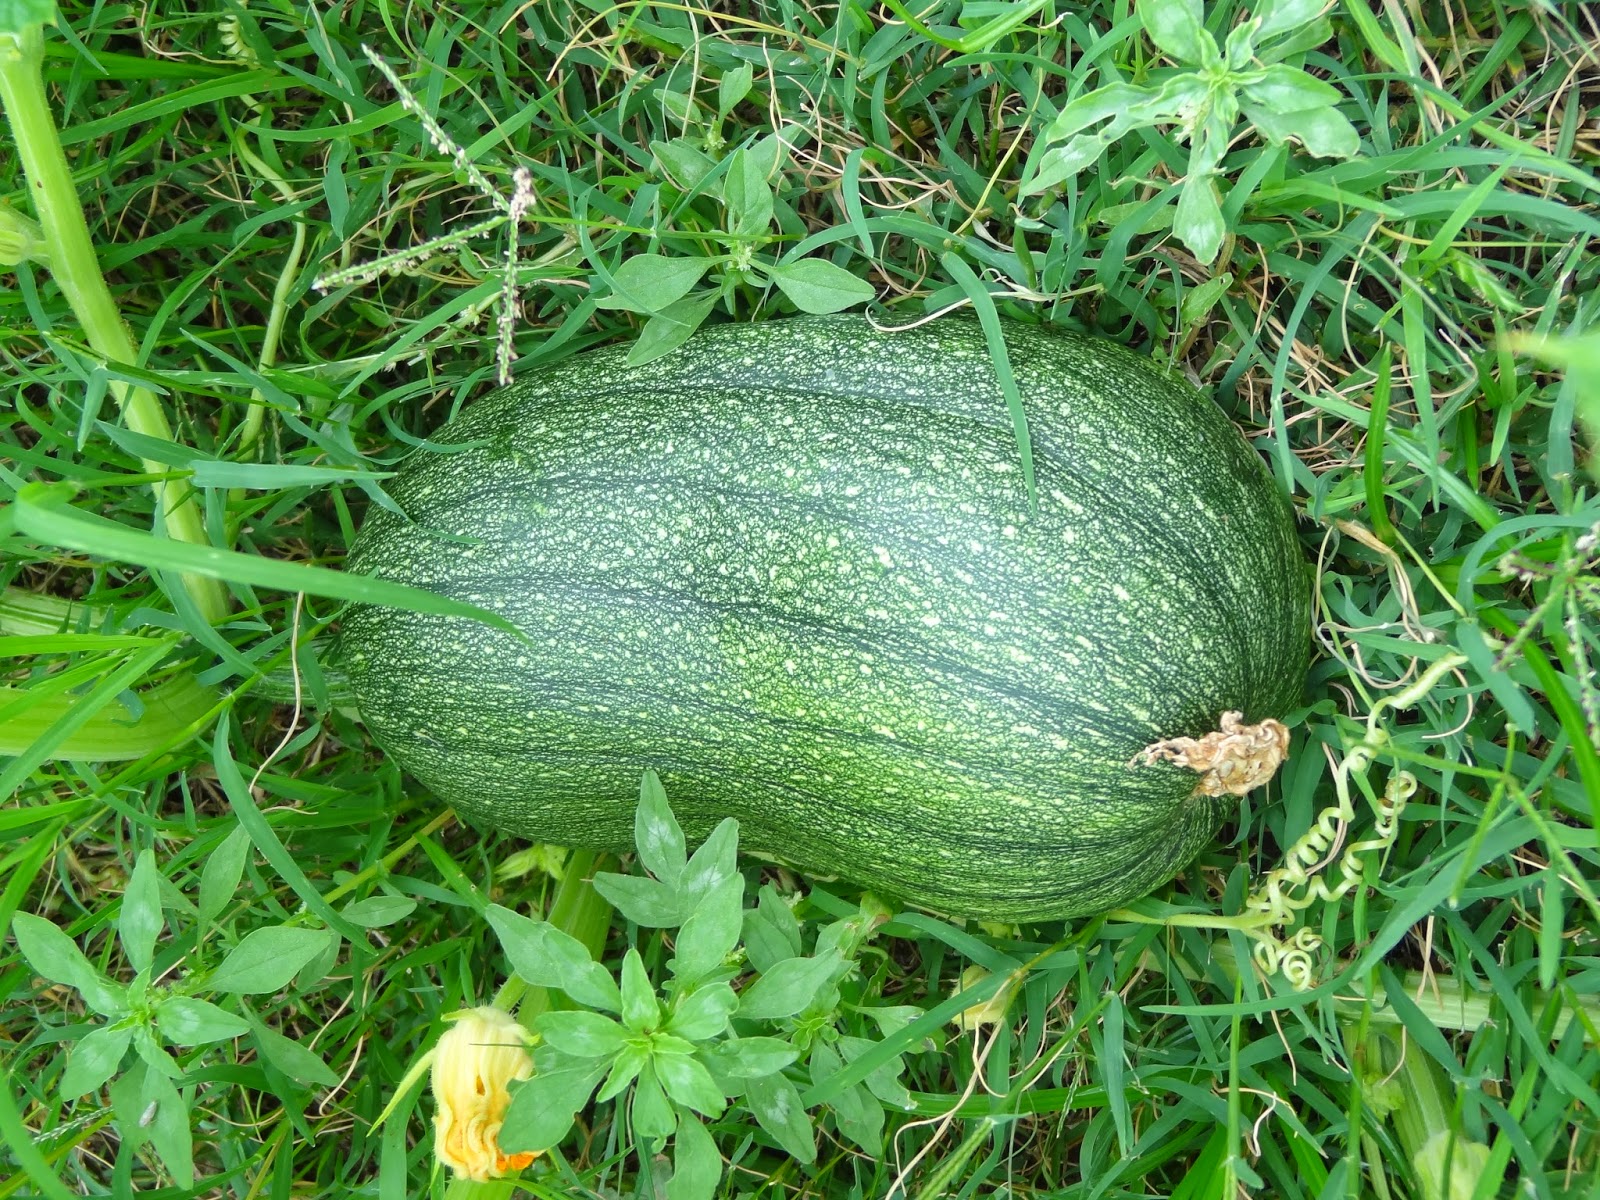
After being away from home for over a week, I came home to a garden overflowing with veggies to pick.  I picked my one and only spaghetti squash (the rest of the crop was wiped out by the squash vine borer). The tomatoes, eggplant and peppers are producing so much, it is difficult for me to try to use up everything while still fresh.  So, I've been giving veggies away to some of my neighbors, as well as trying to find new recipes to help use up all the wonderful veggies.


A couple meals I made this weekend to use the abundant garden fresh veggies were a Caprese Salad as well as a French Ratatouille.

CAPRESE SALAD
Garden fresh tomatoes and basil with mozzarella cheese drizzled with olive oil and balsamic vinegar.  How could you go wrong?  This was a perfect lunchtime meal to use up my multitude of tomatoes and basil.  I grabbed the recipe from The Pioneer Woman blog.  It turned out pretty delicious!


Prep Time:  5 minutes   Cook Time:  20 minutes   Serves:  8

Ingredients

  • 2 cups Balsamic Vinegar
  • 3 whole Ripe Tomatoes, Sliced Thick
  • 12 ounces, weight Mozzarella Cheese, Sliced Thick
  •  Fresh Basil Leaves
  •  Olive Oil, For Drizzling
  •  Kosher Salt And Freshly Ground Black Pepper

Preparation Instructions

In a small saucepan, bring balsamic vinegar to a boil over medium-low heat. Cook for 10 to 20 minutes, or until balsamic has reduced to a thicker glaze. Remove from heat and transfer to a bowl or cruet. Allow to cool.
When you're ready to serve, arrange tomato and mozzarella slices on a platter. Arrange basil leaves between the slices. Drizzle olive oil over the top of the salad, getting a little bit on each slice. Do the same with the balsamic reduction, making designs if you want. Store extra balsamic reduction in fridge for a later use.
End with a sprinkling of kosher salt and black pepper. Serve as a lunch, with crusty bread. Or serve alongside a beef main course for dinner.


EASY FRENCH RATATOUILLE
I planted 4 eggplant plants this spring, and the long eggplant has really been producing a lot of fruit.  I haven't cooked many recipes with eggplant before, but needed to find something that not only used eggplant, but a lot of it.  I found this french ratatouille recipe that did just that, and bonus, it used a lot of the other summer veggies that I needed to use up right now.  The recipe was easy, but it took quite awhile to prep and cook, since there were a lot of veggies to cut up, as well as the fact that you cook each of the different veggies in batches before combining everything.  But overall, the recipe was delicious, used up the veggies I needed and there were plenty of leftovers for eating later in the week and freezing.  The great thing about this recipe is that you can adjust the amounts of veggies based on what you have on hand.

Makes 8 to 10 servings
2 large eggplants
2 yellow onions
3 bell peppers
6-8 medium zucchini 
4 large tomatoes
1 1/2 - 2 tablespoons olive oil
3-4 cloves garlic
1 bay leaf
3-4 sprigs thyme
1/4 cup loosely packed basil, sliced into ribbons
Extra basil for garnishing
Salt and pepper
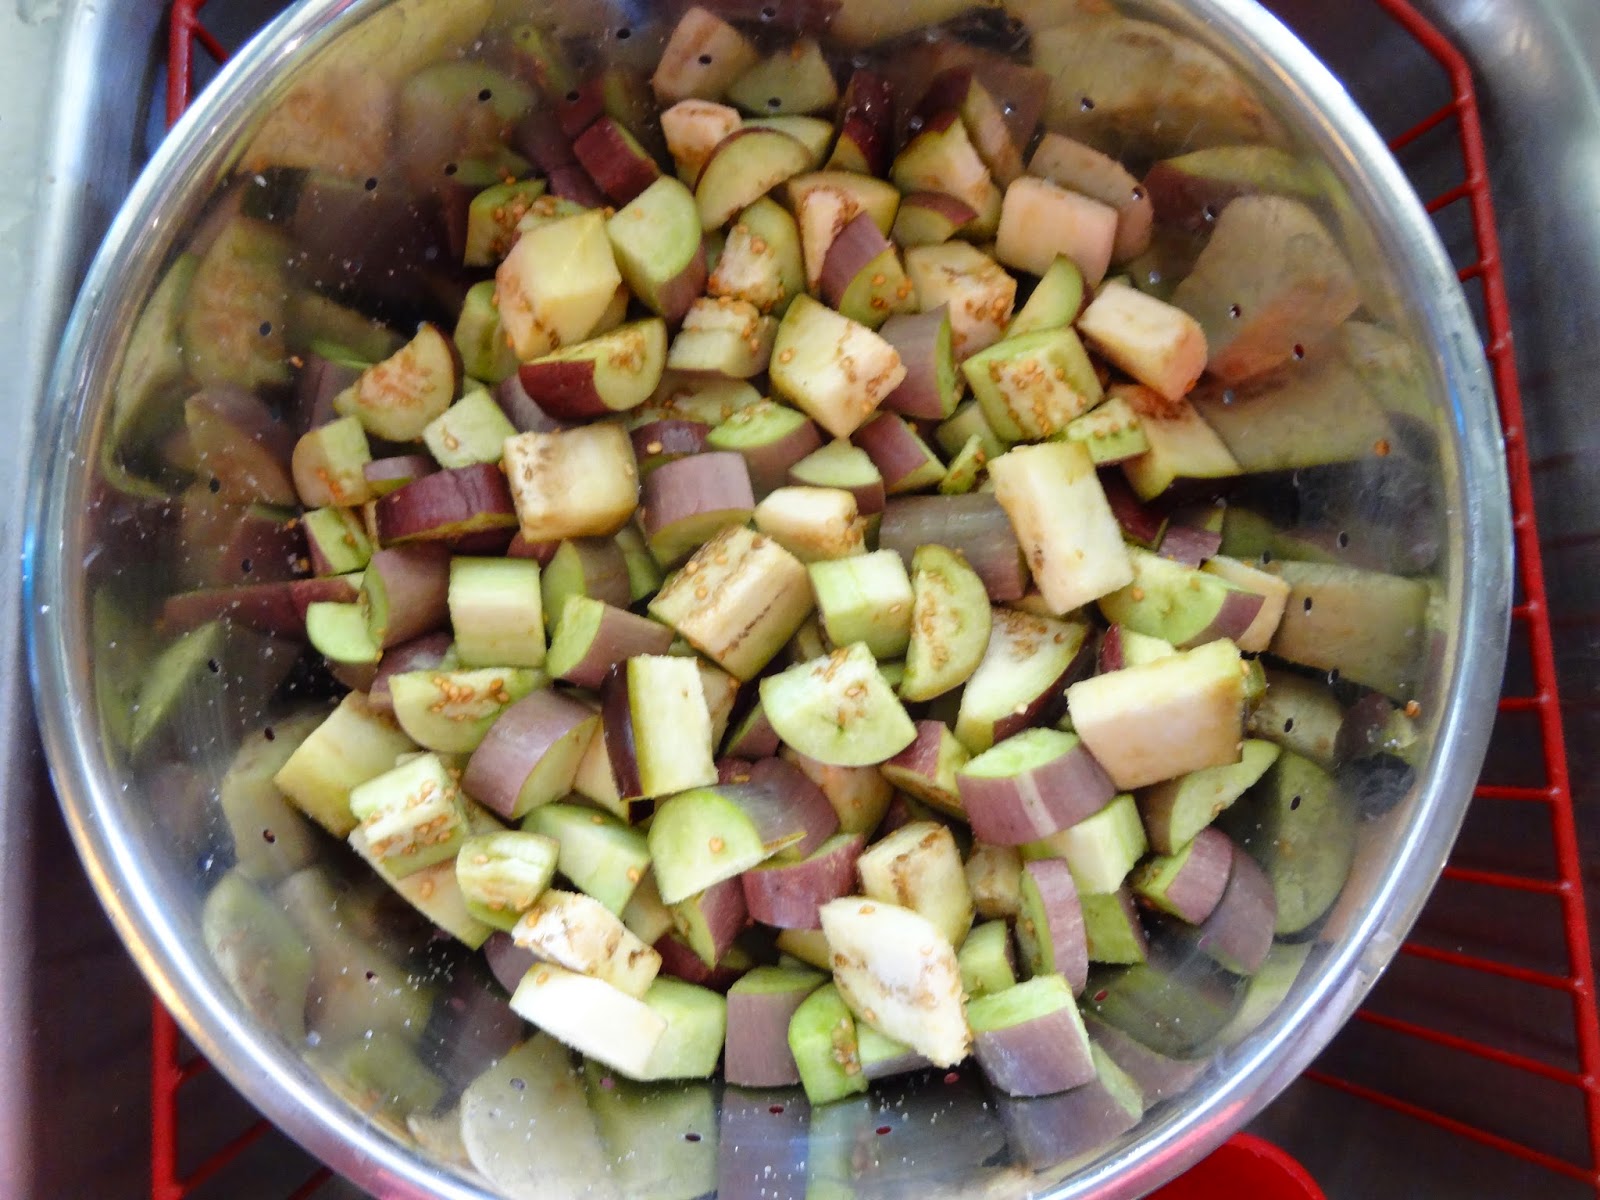
Peel the eggplants, if desired, and chop them into bite-sized cubes. Transfer them to a strainer set over a bowl and toss with a tablespoon of salt. Let the eggplant sit while you prepare the rest of the ingredients.

Dice the onions and roughly chop the peppers, zucchinis, and tomatoes into bite-sized pieces. Mince the garlic. The vegetables will be cooked in batches, so keep each one in a separate bowl.

Warm a teaspoon of olive oil in a large (at least 5 1/2 quart) Dutch oven or pot over medium-high heat. Add the onions and a generous pinch of salt. Sauté until the onions have softened and are just beginning to brown, about 10 minutes. Add the peppers and continue cooking until the peppers have also softened, about another 5 minutes. Transfer the onions and peppers to a clean bowl.
Add another teaspoon of oil to the pot and sauté the zucchini with a generous pinch of salt until the zucchini has softened and is beginning to brown, about 5 minutes. Transfer the zucchini to the bowl with the onions and peppers.
Rinse the eggplant under running water and squeeze the cubes gently with your hands to remove as much moisture as possible. Warm two teaspoons of oil in the pan and sauté the eggplant until it has softened and has begun to turn translucent, about 10 minutes. Transfer the eggplant to the bowl with the other vegetables.
During cooking, a brown glaze will gradually build on the bottom of the pan. If it looks like this glaze is beginning to turn black and burn, turn down the heat to medium. You can also dissolve the glaze between batches by pouring 1/4 cup of water or wine into the pan and scraping up the glaze. Pour the deglazing liquid into the bowl with the vegetables.
Warm another teaspoon of olive oil in the pan and sauté the garlic until it is fragrant and just starting to turn golden, about 1 minute. Add the tomatoes, bay leaf, whole sprigs of thyme. As the tomato juices begin to bubble, scrape up the brown glaze on the bottom of the pan.
Add all of the vegetables back into the pan and stir until everything is evenly mixed. Bring the stew to a simmer, then turn down the heat to low. Stirring occasionally, simmer for at least 20 minutes or up to 1 1/2 hours. Shorter cooking time will leave the vegetables in larger, more distinct pieces; longer cooking times will break the vegetables down into a silky stew.
Before simmer:

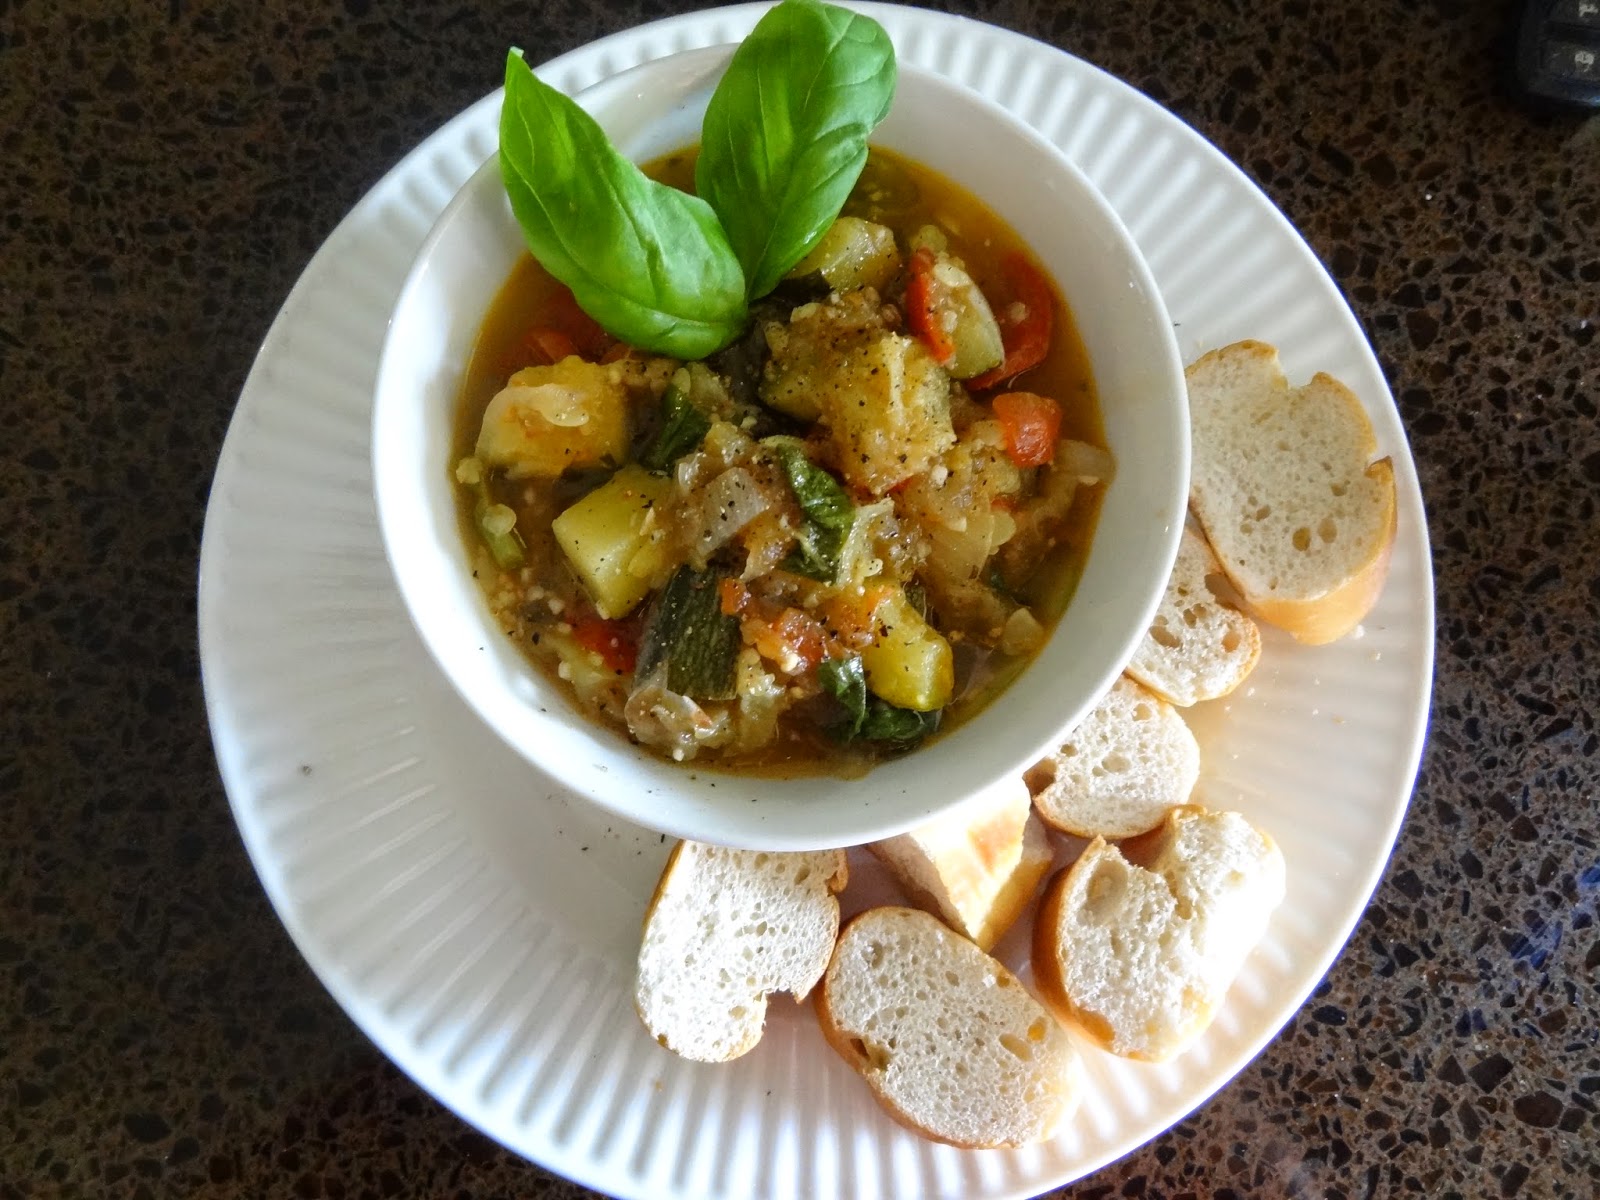
After one hour of simmering (I also added about two cups of water to get some broth):

Remove the bay leaf and thyme sprigs. Just before taking the ratatouille off the heat, stir in the basil. Sprinkle the extra basil and a glug of good olive oil over each bowl as you serve.

Leftovers can be refrigerated for a week or frozen for up to three months. Ratatouille is often better the second day, and it can be eaten cold, room temperature, or warmed.

Notes:
• Making a Smaller Batch: This recipe can be cut in half and adapted to use whatever vegetables you have.

• Flavor Extras: For something different try adding a tablespoon of smoked paprika, a pinch of red pepper flakes, a quarter cup of red wine, or a splash of vinegar to the ratatouille.

Harvest Totals (since April)
  • 5 lbs Cherry Bell Radishes
  • 3 lbs Giant Fordhook Swiss Chard
  • 3 lb 5.5 oz Pic-N-Pic Summer Squash (5 squash)
  • 5 lbs 6.3 oz Black Beauty Zucchini (3 squash)
  • 13.7 oz Mammoth Melting Sugar Peas
  • 9.4 oz Mucho Nacho Jumbo Jalapeno (11)
  • 1 lb 1.5 oz Bush Blue Lake 274 Green Beans
  • 13.3 oz Gypsy Sweet Peppers (5)
  • 1 lb 7.9 oz Sweet 100 Cherry Tomato
  • 10.2 oz Juliet Roma Grape Tomato
  • 1 lb 11.6 oz Early Girl Tomato (6)
  • 2 lb 1.4 oz Long Eggplant (7)
  • 1 lb 3.8 oz Black Beauty Eggplant (1)
  • 4.6 oz Pablano Pepper (2)
  • 1 lb 2.0 oz Acorn Squash (1)
  • 1 lb 1.0 oz Butternut Squash (1)
  • 1 lb 6.6 oz Spaghetti Squash (1)
  • 5.3 oz Green Bell Sweet Pepper (1)

Friday, June 20, 2014

Garden Bloggers' Bloom Day - June 2014

I'm late in posting my June Bloom Day photos due to being away the past week, but I still wanted to post pictures of my recent blooms.  Better late than never, I guess.

CREPE MYRTLES
The crepe myrtles are in full bloom right now.  We have two light pink ones that are on both sides of the front of the house, and one bright pink one in the backyard.


VITEX
The vitex that was planted in the front rock bed has blossomed with pretty purple spires that will hopefully attract the butterflies and bees.


OLEANDER
The yellow oleanders that I planted last springs have bloomed for the first time.  I was beginning to worry the the soil composition was preventing it from blooming, but turns out, all is good.


LANTANA
The lantana are growing like crazy right now.  They absolutely love the Texas heat and do great with little to no water.  I've added a couple new varieties to the front rock gardens this year, including a yellow as well as a bright red and orange variety.


MARIGOLDS
The marigolds continue to bloom like crazy in the veggie beds, adding a nice pop of color.  They have had constant blooms since early spring and will continue to bloom through the fall.


BULB BEDS
There are several flowers blooming in the bulb beds right now, include black-eyed susans, gladiolas,  canna lilies, dahlias, and daylilies.


Thanks to Carol over at May Dreams Gardens for hosting Garden Bloggers' Bloom Day.  Check out her site to see more gardener's Bloom Days.